Healthy Snack No Bake Granola Bars
Highlighted under: Fit & Fresh
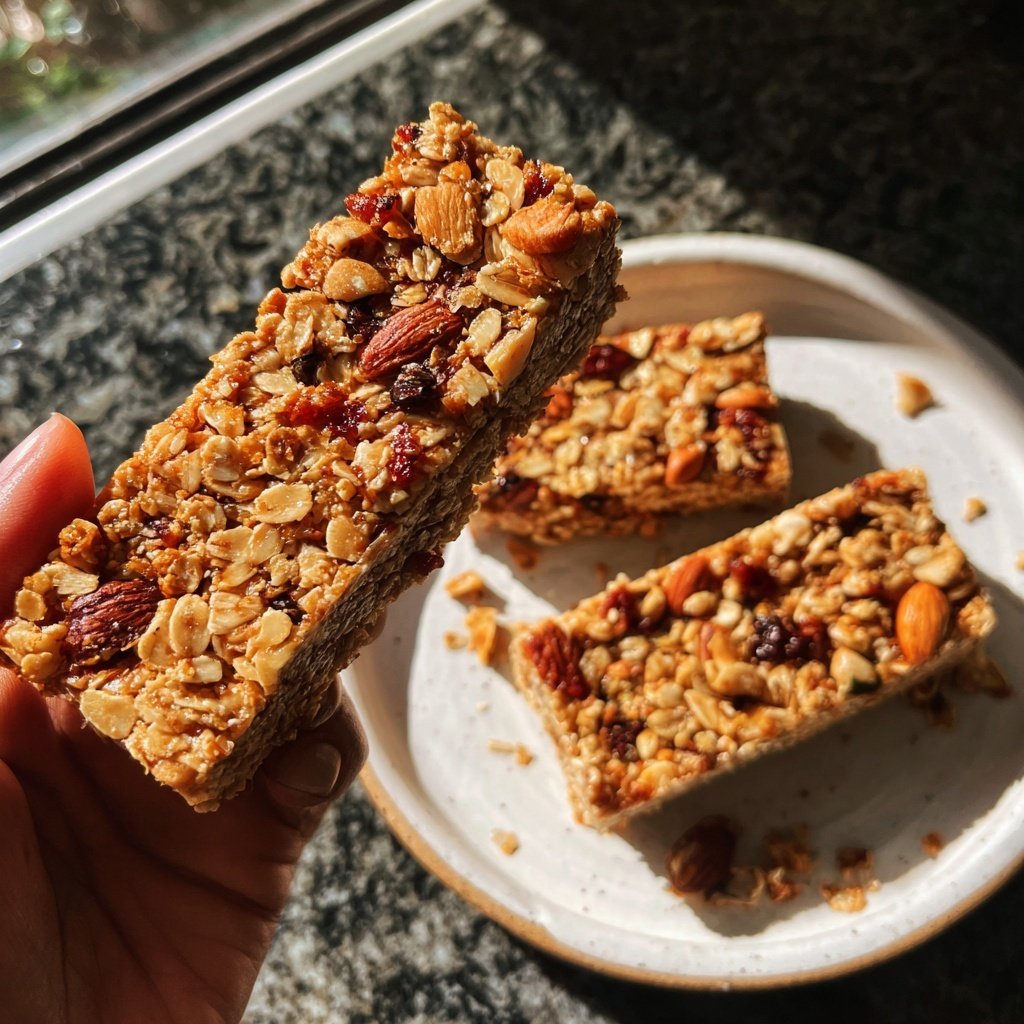
When I’m in need of a quick energy boost, these no-bake granola bars have become my go-to snack. They are not only super easy to whip up but also packed with good-for-you ingredients. I love being able to customize the mix-ins to match my cravings, whether it’s dark chocolate chips or dried fruit. These bars are perfect for a busy day or when I want to treat myself without the guilt. Plus, I can make a big batch ahead of time and have healthy snacks ready for the week!
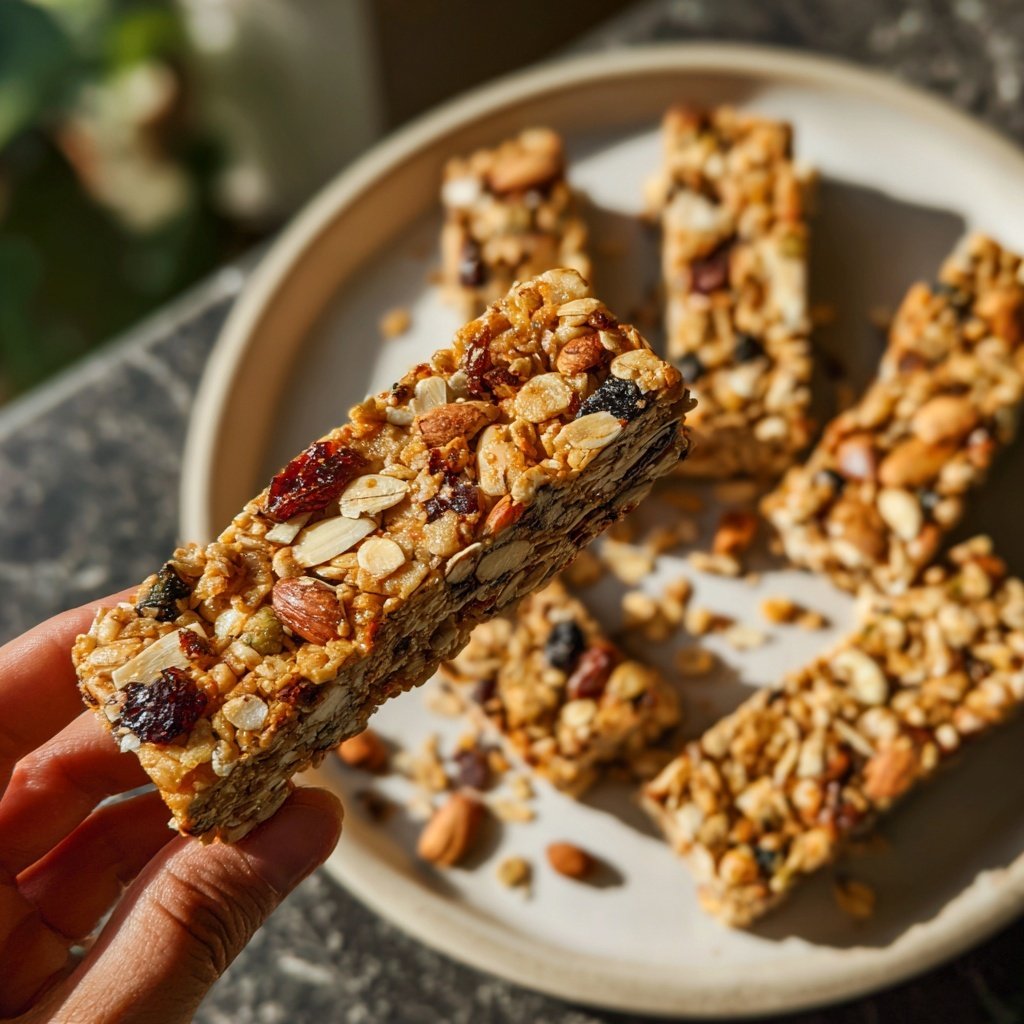
Creating my own no-bake granola bars has been a game-changer. I realized early on that using nut butter as a binding agent not only adds flavor but also gives the bars a satisfying chew. By combining oats and various nuts, I can make a nutritious snack that keeps me full until my next meal.
One tip I've discovered is to press the mixture firmly into the pan. This helps the bars hold together when cut. I also love that I can experiment with different sweeteners, such as honey or maple syrup, depending on how sweet I want them to be!
Why You Will Love This Recipe
- Simple ingredients that are easy to find
- Customizable to fit your flavor preferences
- Great for meal prepping and on-the-go snacking
Customization Options
One of the best aspects of these no-bake granola bars is the endless customization possibilities. You can swap out the nut butter for sunflower seed butter to make them nut-free or use tahini for a rich, creamy texture. Additionally, if you're in the mood for something with a bit of crunch, consider adding puffed rice or chia seeds. These adjustments not only change the flavor profile but also introduce different textures, making your snack uniquely yours.
If dark chocolate isn't your favorite, white chocolate chips or even yogurt-covered raisins are great substitutes. Experimenting with different dried fruits can also yield delightful variations. Try using dried apricots for a tart flavor or go with dates for added sweetness. By mixing and matching ingredients, you can keep your snack options exciting and tailored to your taste.
Storage Tips
Storing these granola bars properly helps maintain their freshness and texture. After cutting them into bars, wrap each piece tightly in plastic wrap or parchment paper to minimize exposure to air, which can lead to them becoming stale. I prefer to keep them in an airtight container in the refrigerator, where they will stay good for up to two weeks. This is a great way to always have a healthy snack on hand during busy weeks.
For long-term storage, these bars can be frozen as well! Simply freeze them in a single layer before transferring to a zip-top freezer bag. When you're ready to enjoy one, you can take it out and let it thaw at room temperature or even pop it in the microwave for a few seconds for a warm treat. Freezing them helps preserve their flavor and crunchiness, making them a great option for future busy days.
Ingredients
Gather the following ingredients to make your no-bake granola bars:
Ingredients
- 2 cups rolled oats
- 1 cup nut butter (like peanut or almond butter)
- 1/2 cup honey or maple syrup
- 1/2 cup nuts (chopped)
- 1/2 cup dark chocolate chips (optional)
- 1/4 cup dried fruits (optional)
- 1/2 teaspoon vanilla extract
- A pinch of salt
Ensure everything is well mixed before transferring to the pan.
Instructions
Follow these easy steps to create your granola bars:
Mix Ingredients
In a large bowl, combine the rolled oats, nut butter, honey, chopped nuts, chocolate chips, dried fruits, vanilla extract, and salt. Stir until everything is evenly coated.
Press into Pan
Line an 8x8 inch baking dish with parchment paper. Transfer the mixture into the pan and press down firmly to create an even layer.
Chill
Refrigerate the pan for about 30 minutes to set. Once firm, remove from the dish and cut into bars.
Wrap bars individually for easy snacking!
Pro Tips
- Feel free to substitute any of the mix-ins based on your preferences. For a crunchy texture, try adding seeds such as sunflower or pumpkin seeds.
Troubleshooting and Adjustments
If your granola bars seem too crumbly when you're pressing them into the pan, it's likely that you may need to adjust the wet ingredients. Adding a little more nut butter or honey can help bind the mixture together better. On the other hand, if they’re too sticky and won’t hold their shape, you might have overdone it on the liquids. Try adding a bit more rolled oats to help balance things out.
It's also important to press the mixture firmly into the pan; a good rule of thumb is to use the back of a measuring cup or your hands to pack it down tightly. This helps ensure that the bars hold together well once set. If they don’t look firm after chilling, you can pop them back in the fridge for a bit longer until they're set.
Serving Suggestions
These granola bars make an excellent addition to breakfast or an on-the-go snack. For a quick breakfast option, consider crumbling them over yogurt or serving them with fresh fruit. You can also enjoy them alongside a cup of coffee or tea for an afternoon treat that won't weigh you down.
To elevate your serving experience, try drizzling a little honey or a sprinkle of sea salt on top just before serving. This adds a touch of sweetness and a contrast in flavors. Lastly, consider pairing these bars with a spread like cream cheese or nut butter for a more filling snack that will keep you energized throughout the day.
Questions About Recipes
→ How can I store these granola bars?
Store them in an airtight container in the refrigerator for up to a week.
→ Can I use other sweeteners besides honey?
Yes, maple syrup, agave nectar, or even brown sugar can work as alternatives.
→ Are these granola bars vegan?
Yes, if you use maple syrup and a plant-based nut butter, they can be vegan.
→ Can I freeze these bars?
Absolutely! They freeze well for up to three months. Just make sure to wrap them tightly.
Healthy Snack No Bake Granola Bars
What You'll Need
Ingredients
- 2 cups rolled oats
- 1 cup nut butter (like peanut or almond butter)
- 1/2 cup honey or maple syrup
- 1/2 cup nuts (chopped)
- 1/2 cup dark chocolate chips (optional)
- 1/4 cup dried fruits (optional)
- 1/2 teaspoon vanilla extract
- A pinch of salt
How-To Steps
In a large bowl, combine the rolled oats, nut butter, honey, chopped nuts, chocolate chips, dried fruits, vanilla extract, and salt. Stir until everything is evenly coated.
Line an 8x8 inch baking dish with parchment paper. Transfer the mixture into the pan and press down firmly to create an even layer.
Refrigerate the pan for about 30 minutes to set. Once firm, remove from the dish and cut into bars.
Extra Tips
- Feel free to substitute any of the mix-ins based on your preferences. For a crunchy texture, try adding seeds such as sunflower or pumpkin seeds.
Nutritional Breakdown (Per Serving)
- Calories: 150 kcal
- Total Fat: 9g
- Saturated Fat: 2g
- Cholesterol: 0mg
- Sodium: 50mg
- Total Carbohydrates: 17g
- Dietary Fiber: 2g
- Sugars: 7g
- Protein: 4g