DIY Chicken Run With Roof
Highlighted under: Rapid Recipes
I decided to build a DIY chicken run with a roof to give my chickens a safe outdoor space. With the threat of predators and unpredictable weather, I wanted to ensure they could play and roam freely without worry. This project not only keeps my flock secure but also allows them to enjoy some shade during hot days. In this guide, I'll share the materials I used, the steps I took, and what I learned along the way to help you create your own chicken haven.
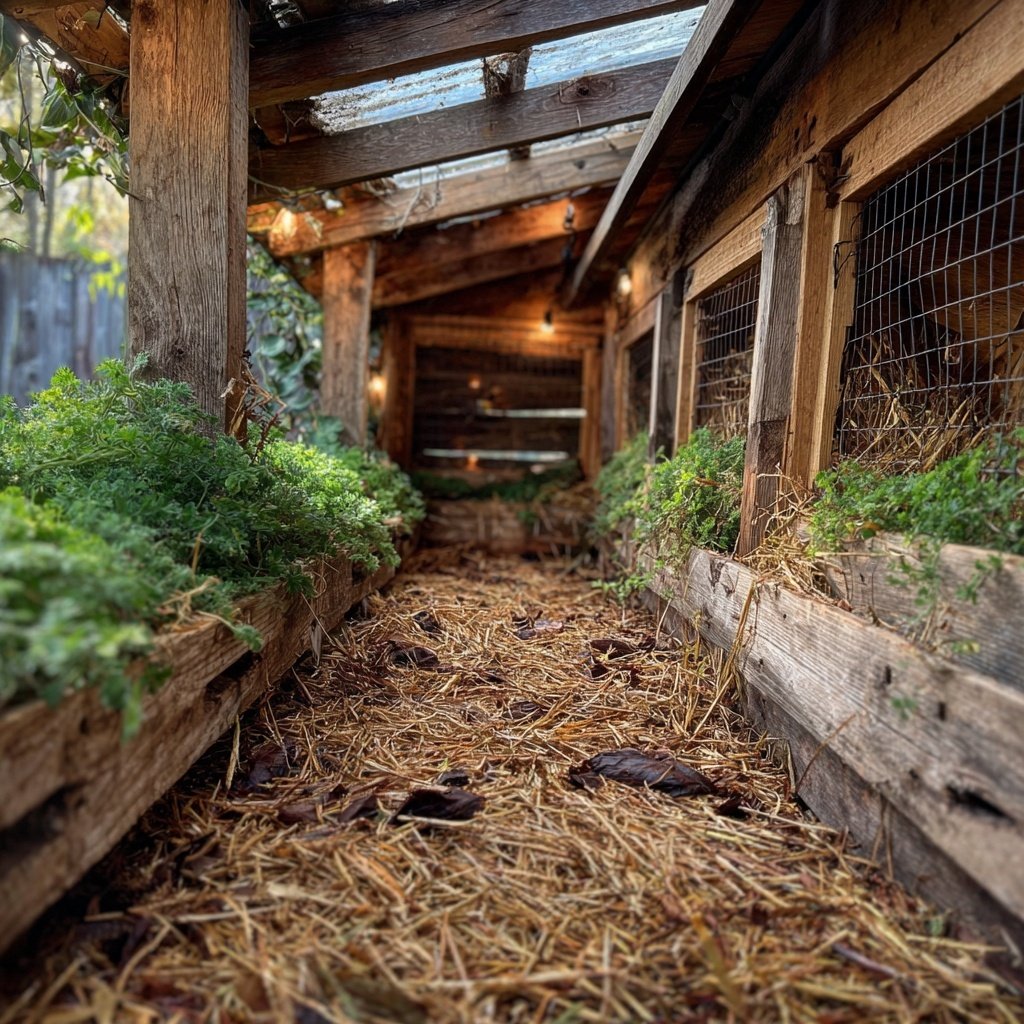
When I first decided to build a chicken run, I underestimated how much planning it would require. I tried various designs, but ultimately settled on one that paired a sturdy frame with a sloped roof for rain runoff. This method not only protects the chickens from the elements but also maintains proper ventilation inside the run.
One detail that made a significant difference was how I secured the mesh wire. By using galvanized staples to attach the wire securely to the wooden frame, I ensured that it would withstand both weather and curious raccoons. I felt great knowing my chickens were safe while enjoying their space!
Why You'll Love This DIY Chicken Run
- Creates a safe outdoor playground for your chickens
- Easy to customize based on your yard space and needs
- Provides protection against harsh weather and predators
Choosing the Right Location
Selecting the perfect location for your chicken run is crucial for its success. Look for a flat area with good drainage, as puddles can make the run muddy and unpleasant for your chickens. Ideally, the site should also have some natural shade from trees or bushes, which will help keep your chickens cool during hot summer days. Consider how the location will be impacted by prevailing winds and sunlight throughout the day; these factors will influence both your chickens’ comfort and the longevity of the structure.
It's important to mark the dimensions accurately before starting your build. This allows you to visualize the space and ensures that you know how much material you'll need. I used garden stakes and string to outline the area. Measuring the space this way can help you avoid any unexpected surprises later on when it’s time to assemble the frame.
Using Quality Materials
Choosing the right materials for your chicken run can make a significant difference in its durability and effectiveness. Using pressure-treated wood for the frame can prevent rot since it will be exposed to the elements. However, if you're concerned about chemicals leaching into the soil, untreated wood sealed with a non-toxic sealer can be an alternative. Ensure that all connections are secure with wood screws, as they provide a stronger hold compared to nails.
When selecting wire mesh, it's vital to use hardware cloth instead of chicken wire. While chicken wire can keep chickens in, it won't stop determined predators like raccoons or foxes from accessing your flock. Hardware cloth has smaller openings and is much sturdier, making it the preferred option for safeguarding your chickens.
Ingredients
Gather the following materials:
Materials for the Chicken Run
- Wooden boards (2x4 or similar)
- Wire mesh (hardware cloth)
- Roofing panels (metal or plastic)
- Wood screws
- Galvanized staples
- Hinges and a latch for the door
- Paint or wood sealer (optional)
Make sure to have all the tools ready before you begin!
Instructions
Follow these steps to build your chicken run:
Determine the Size and Location
Choose a flat area in your yard that has some natural shade. Mark the dimensions for your chicken run, adjusting based on the number of chickens.
Construct the Frame
Use the wooden boards to build a rectangular base. Cut vertical posts for each corner to the desired height and secure them.
Attach the Mesh Wire
Roll out the wire mesh around the frame and use the galvanized staples to secure it tightly. Make sure there are no gaps where predators could enter.
Add a Roof
Install roofing panels securely, ensuring they are overlapping to prevent water from entering the run. Attach them to the frame using screws.
Build the Door
Construct a door using extra wooden boards and attach it using hinges. Ensure the latch is secure to keep chickens safe.
Finishing Touches
Paint or seal the wood for added protection against the elements. Make sure everything is secure and clean before introducing your chickens.
Your new chicken run is ready! Observe your chickens adjusting to their new home and make any modifications as necessary.
Pro Tips
- Remember to regularly check the run for holes or damage and to ensure the chickens have adequate ventilation and shade.
Troubleshooting Common Issues
As with any DIY project, unexpected challenges might arise. If you notice gaps in the wire mesh after installation, you can use additional pieces of mesh or even scrap wood to close them off. Always check the structure for wear and tear, particularly at the points where the wire is fastened and the wood connects. Regular maintenance will help extend the life of your chicken run.
Another common issue is water pooling in the run. To solve this, ensure that the roofing panels have a proper slope to direct rainwater away from the run. If you're using a flat roof, consider creating drainage channels or even installing a slight incline to facilitate water runoff.
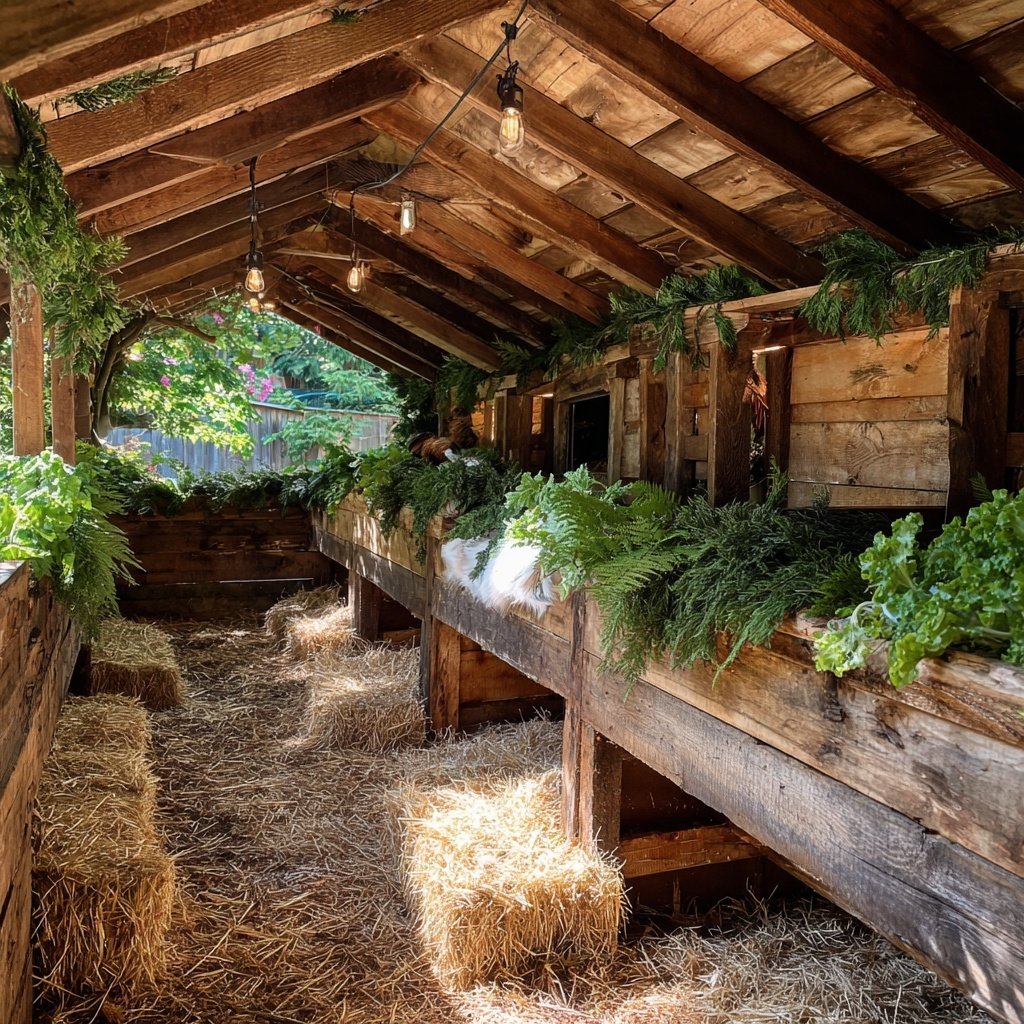
Customizing Your Chicken Run
One of the great things about building your own chicken run is the ability to customize it to fit your flock's needs. Consider adding features like nesting boxes or perches inside the run to create engaging environments. You can also install wheels on one end for it to be mobile, allowing you to easily move it for fresh grass and new bugs to forage. Mobile runs can keep your flock healthy while minimizing damage to your yard.
Additionally, adding a dust bath area within your run can provide your chickens with a natural way to maintain their feathers and improve their overall health. Simply create a shallow area filled with sand and dirt, and your chickens will enjoy rolling around in it, helping keep pesky mites at bay.
Questions About Recipes
→ What materials do I need?
You'll need wooden boards, wire mesh, roofing panels, screws, and a latch for the door.
→ How long does it take to build?
Expect to spend about an hour or two, depending on your experience and the size of the run.
→ Can I customize the size of the run?
Absolutely! Adjust the dimensions based on how many chickens you have and available space.
→ What kind of roof is best?
A sloped roof made of metal or plastic is great for runoff and will keep your chickens dry.
DIY Chicken Run With Roof
What You'll Need
Materials for the Chicken Run
- Wooden boards (2x4 or similar)
- Wire mesh (hardware cloth)
- Roofing panels (metal or plastic)
- Wood screws
- Galvanized staples
- Hinges and a latch for the door
- Paint or wood sealer (optional)
How-To Steps
Choose a flat area in your yard that has some natural shade. Mark the dimensions for your chicken run, adjusting based on the number of chickens.
Use the wooden boards to build a rectangular base. Cut vertical posts for each corner to the desired height and secure them.
Roll out the wire mesh around the frame and use the galvanized staples to secure it tightly. Make sure there are no gaps where predators could enter.
Install roofing panels securely, ensuring they are overlapping to prevent water from entering the run. Attach them to the frame using screws.
Construct a door using extra wooden boards and attach it using hinges. Ensure the latch is secure to keep chickens safe.
Paint or seal the wood for added protection against the elements. Make sure everything is secure and clean before introducing your chickens.
Extra Tips
- Remember to regularly check the run for holes or damage and to ensure the chickens have adequate ventilation and shade.